# 백엔드 설치 방법
> ## 설치전 준비사항
- 다보리 Git Server 사용자 등록 ([다보리 깃 서버 바로가기](http://git.daboryhost.com:10880/))
---
> ## 웹서버에 백엔드(main\_api) 설치하기
1\. 서버에 로그인합니다.
2\. home 디렉토리로 이동하여 백엔드를 설치해줄 디렉토리를 생성합니다.
예제에서는 main\_api로 지정했습니다.
```bash
cd /home
mkdir main_api
```
3\. 생성해준 main\_api 디렉토리로 이동합니다.
```bash
cd main_api
```
4\. 다보리 git server에 mybin 레포지토리로 이동합니다. ([mybin 바로가기](http://git.daboryhost.com:10880/dabory/mybin))
5\. HTTP url을 복사합니다.
[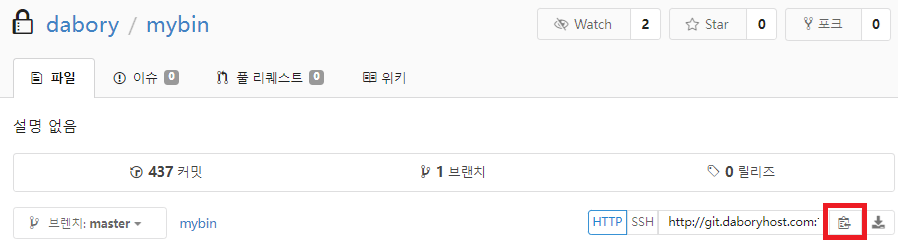](https://manual.dabory.com/uploads/images/gallery/2024-08/ZVYimage.png)
6\. git clone을 통해 mybin을 가져옵니다.
```bash
git clone http://git.daboryhost.com:10880/dabory/mybin.git
```
7\. mybin이 설치되었는지 확인합니다.
8\. 정상적으로 설치되었다면 다음 명령어를 통해 간편하게 설치할 수 있습니다.
```
./init-weberp-go-install-in-main_api
```
위 명령어 실행시 다보리 컴포저블의 백엔드 어플리케이션 패키지를 설치합니다.
\* 만약 스크립트 파일이 실행되지 않는다면 아래 명령어를 통해 실행권한을 부여합니다.
```bash
cd mybin
chmod +x init-weberp-go-install-in-main_api
```
다시 main\_api 디렉토리로 이동하여 명령어를 실행합니다.
```bash
cd ..
./init-weberp-go-install-in-main_api
```
9\. 설치가 완료되었다면 아래 디렉토리들이 존재하는지 확인합니다.
(1). cache-key-pair
(2). weberp-go
(3). weberp-queries
10\. 설치가 완료되었습니다. 백엔드 앱을 실행하겠습니다.
아래 명령어를 통해 실행 스크립트 파일을 실행합니다.
```
./mybin/without-update-weberp-go-run
```
[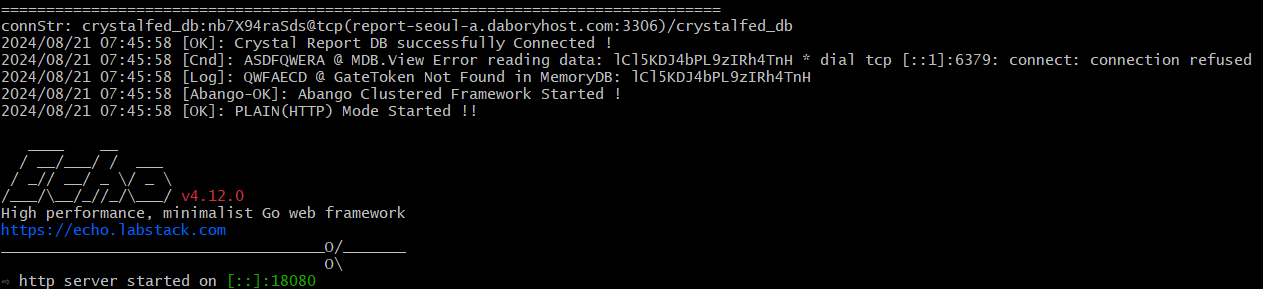](https://manual.dabory.com/uploads/images/gallery/2024-08/fFMimage.png)
11\. 백엔드 서버가 성공적으로 실행되었습니다.
##### 백엔드 설치항목
- cache-key-pair
- wheberp-go
- weberp-queries
- mybin
##### 참고자료
- [cache-key-pair란?](https://manual.dabory.com/books/frontend/page/cache-key-pair)